Chocolate Walnut Sourdough Bread Recipe
Introduction
This Chocolate Walnut Sourdough Bread combines the rich flavors of cocoa and chocolate chunks with the earthy crunch of walnuts. It’s a perfect treat for breakfast or an indulgent snack, with a tender crumb and a deep, complex taste.
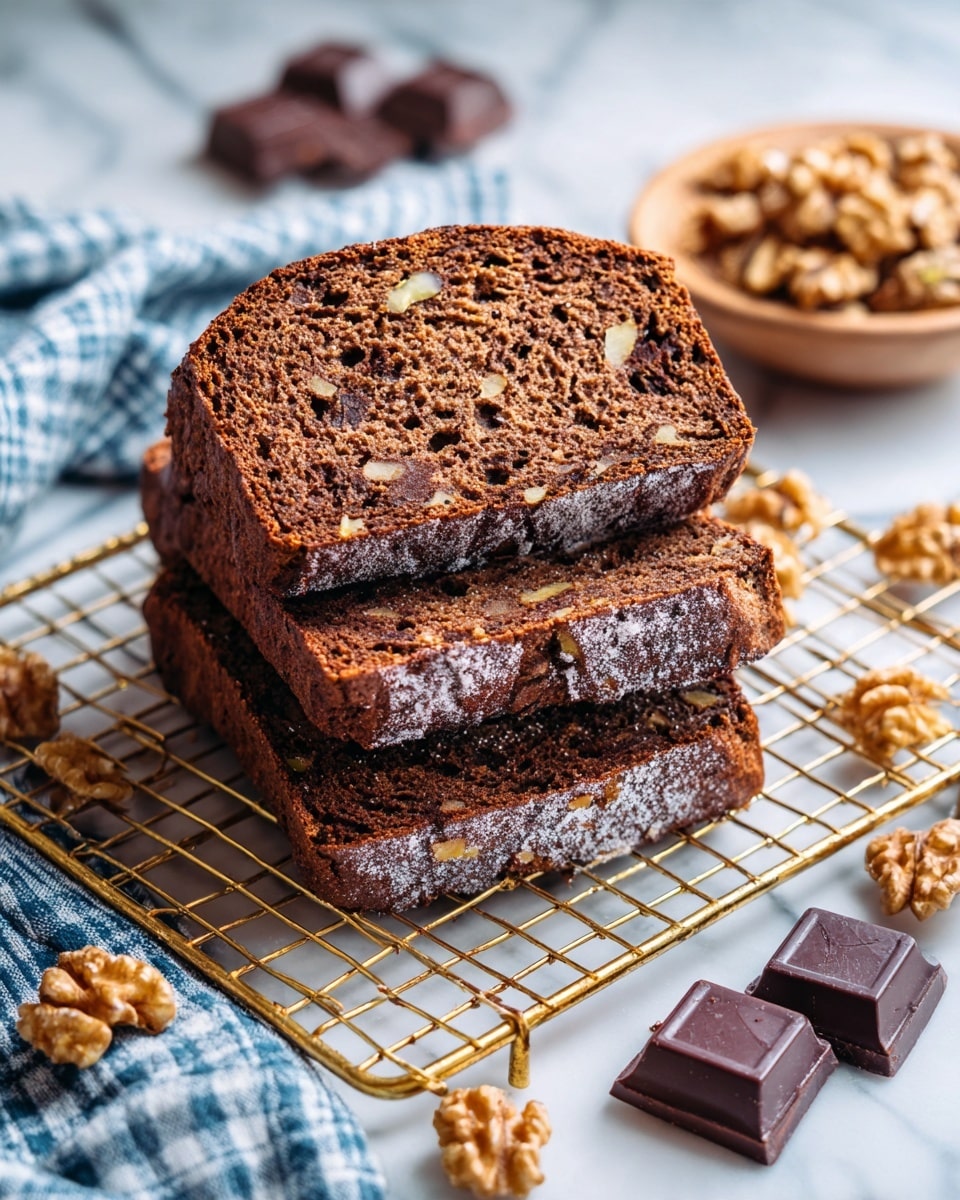
Ingredients
- 160 g active sourdough starter
- 245 g warm water
- 40 g granulated white sugar
- 330 g bread flour
- 30 g cocoa powder
- 1/2 tablespoon espresso powder
- 6 g coarse kosher salt
- 40 g chopped walnuts
- 70 g chocolate chunks
Instructions
- Step 1: In a large bowl, mix 160 g of active sourdough starter with 245 g warm water and 40 g granulated sugar until mostly combined.
- Step 2: In a separate bowl, whisk together 330 g bread flour, 30 g cocoa powder, and 1/2 tablespoon espresso powder.
- Step 3: Add the dry ingredients to the wet mixture and stir until a shaggy dough forms. Then, mix with your hands or a bowl scraper until fully combined.
- Step 4: Cover the bowl and let the dough rest for 30 minutes.
- Step 5: Sprinkle 6 g coarse salt on top and perform a series of stretch and folds: wet your hands, gently pull the dough flap, fold it over itself, rotate the bowl 90 degrees, and repeat four times. Cover and rest for another 30 minutes.
- Step 6: Add 40 g chopped walnuts and 70 g chocolate chunks. Perform a second set of stretch and folds to incorporate them, then rest for 30 minutes.
- Step 7: Do one more set of stretch and folds and allow the dough to rest for 1 hour.
- Step 8: Lightly flour your work surface and turn the dough out, placing the smooth side down and the sticky underside facing you for easier shaping.
- Step 9: Fold the edges into the middle, alternating sides, then roll tightly from the bottom into a batard shape. To make a boule, tuck the ends underneath.
- Step 10: Let the shaped dough rest covered for 20 minutes.
- Step 11: Use your pinkies to apply gentle pressure under the dough and drag it across the surface to create tension, being careful not to tear.
- Step 12: Dust the top with rice flour, lift with a bench scraper, flip, and place seam side up into a banneton to proof.
Tips & Variations
- For a more intense chocolate flavor, try using bittersweet chocolate chunks instead of milk chocolate.
- If you don’t have espresso powder, you can omit it or substitute with instant coffee granules for a subtle depth.
- Toast the walnuts lightly before adding for added crunch and nuttiness.
Storage
Store the bread in a paper bag or loosely wrapped in foil at room temperature for up to 3 days. To refresh, warm slices in a toaster or oven. For longer storage, slice and freeze, then toast or warm before serving.
How to Serve
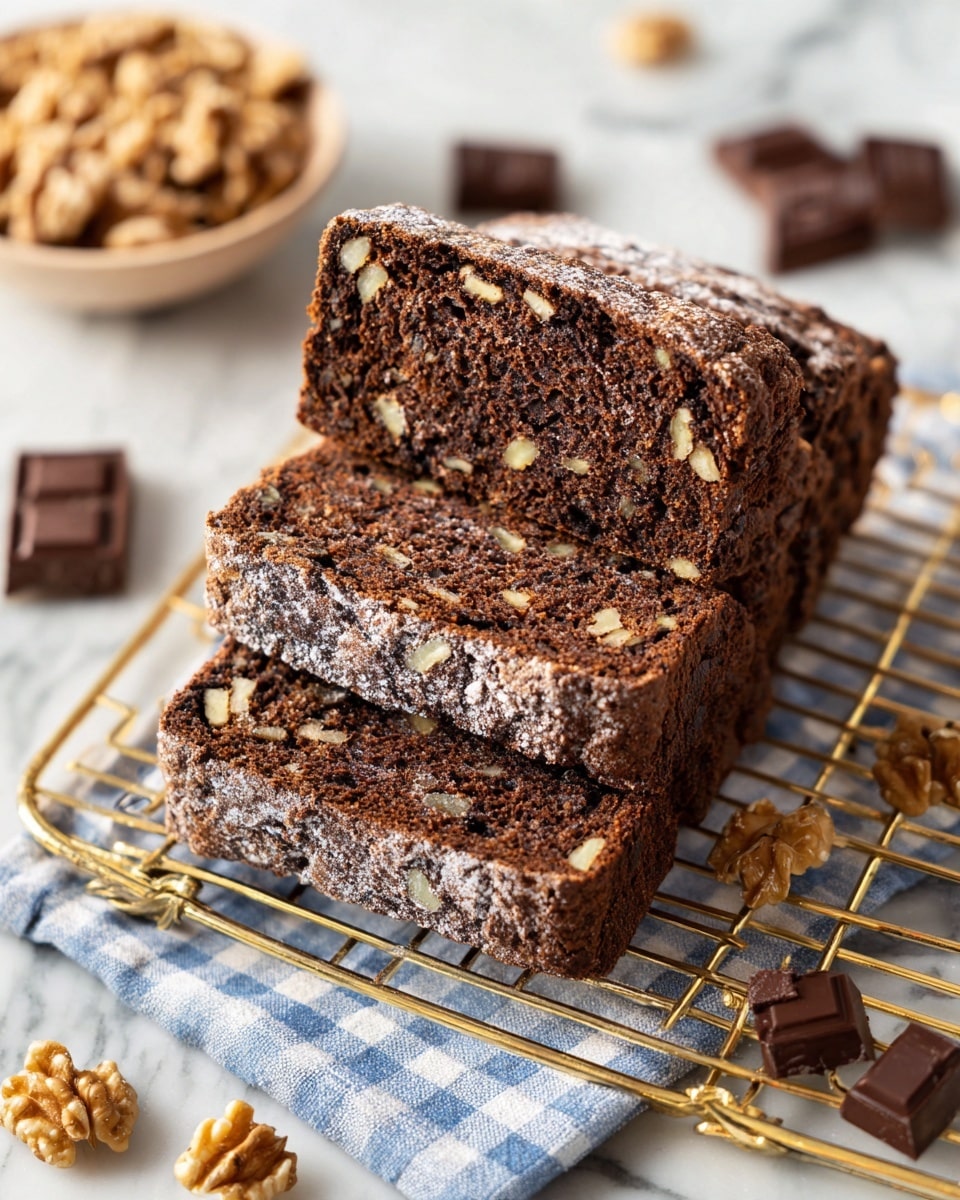
Serve this delicious recipe with your favorite sides.
FAQs
Can I use a different type of flour?
Bread flour is preferred for its higher protein content which gives better structure, but all-purpose flour can be used with slightly less chewy texture.
How do I know if my sourdough starter is active enough?
Your starter should be bubbly and doubled in size after feeding, with a pleasant tangy aroma. This indicates it’s ready to leaven your dough effectively.
PrintChocolate Walnut Sourdough Bread Recipe

This Chocolate Walnut Sourdough Bread combines the rich flavors of cocoa and espresso with the natural tang of sourdough, enriched by crunchy walnuts and melty chocolate chunks. Perfect for breakfast or a decadent snack, this artisanal bread recipe involves a slow fermentation process and careful folding techniques to develop a tender crumb and a flavorful crust.
- Prep Time: 40 minutes
- Cook Time: 45 minutes
- Total Time: 18 hours 50 minutes
- Yield: 10 servings 1x
- Category: Baking
- Method: Baking
- Cuisine: Artisan Bread
- Diet: Vegetarian
Ingredients
Starter Mixture
- 160 g active sourdough starter
- 245 g warm water
- 40 g granulated white sugar
Dry Ingredients
- 330 g bread flour
- 30 g Dutch process cocoa powder
- 1/2 tablespoon espresso powder
- 6 g coarse kosher salt
Add-ins
- 40 g chopped walnuts
- 70 g chocolate chunks
Instructions
- Start The Dough: Mix 160 g of active and bubbly sourdough starter with 245 g of warm water and 40 g of granulated white sugar in a large bowl. Stir well until the mixture is mostly combined and smooth.
- Combine Dry Ingredients: In a separate medium bowl, whisk together 330 g bread flour, 30 g Dutch process cocoa powder, and 1/2 tablespoon espresso powder until evenly combined.
- Make Dough: Add the dry ingredient mixture to the wet starter mixture. Stir until a shaggy dough forms, then use your hands or a bowl scraper to mix until fully combined into a cohesive dough.
- Rest and Fold: Cover the bowl tightly with plastic wrap or a shower cap and let the dough rest for 30 minutes to hydrate.
- Salt and First Stretch and Fold: Sprinkle 6 g kosher salt on top of the dough. With wet hands, perform a series of stretch and folds by pulling a flap of dough and folding it over, then rotating the bowl 90 degrees and repeating four times total. Cover and let rest for another 30 minutes.
- Add Walnuts and Chocolate + Second Stretch and Fold: Add 40 g chopped walnuts and 70 g chocolate chunks to the dough. Incorporate them using a second set of stretch and folds as before. Allow the dough to rest for 30 minutes.
- Third Stretch and Fold: Perform a final third set of stretch and folds to further develop gluten and evenly distribute inclusions. Let dough rest for 1 hour after this.
- Preshape the Dough: Lightly flour a work surface and turn the dough out with the smooth side down and sticky side up to make shaping easier. Fold the edges into the middle like lacing, then roll from the bottom tightly into a batard shape. Optionally, tuck ends underneath to form a boule shape.
- Bench Rest: Let the shaped dough rest, covered, for 20 minutes to relax the gluten.
- Final Shaping: Place your hands underneath the dough and use your pinkies to gently drag it along the work surface to create surface tension. Avoid over-tightening to prevent tearing the walnuts and chocolate.
- Prepare for Proofing: Dust the top of the dough with rice flour using a sieve. Using a bench scraper, pick up the dough and flip it so that the seam side is facing up. Place the dough inverted into a banneton basket to proof until it is airy and well-risen.
Notes
- Ensure your sourdough starter is very active and bubbly for best rise and flavor development.
- Use Dutch process cocoa powder for a richer, deeper chocolate taste and better dough color.
- Espresso powder enhances the chocolate flavor without making the bread taste like coffee.
- Perform stretch and folds with wet hands to prevent the dough from sticking.
- Do not overtighten the dough during final shaping to avoid tearing the inclusions.
- Proofing times may vary based on room temperature; look for a noticeable increase in dough volume and airiness.
- For baking instructions, refer to your preferred sourdough bread baking method after proofing (not included in this recipe).
Keywords: sourdough bread, chocolate bread, walnut bread, artisan bread, fermented bread, cocoa bread, chocolate walnut sourdough