Crispy Mini Waffles – Fluffy and Delicious Recipe
Introduction
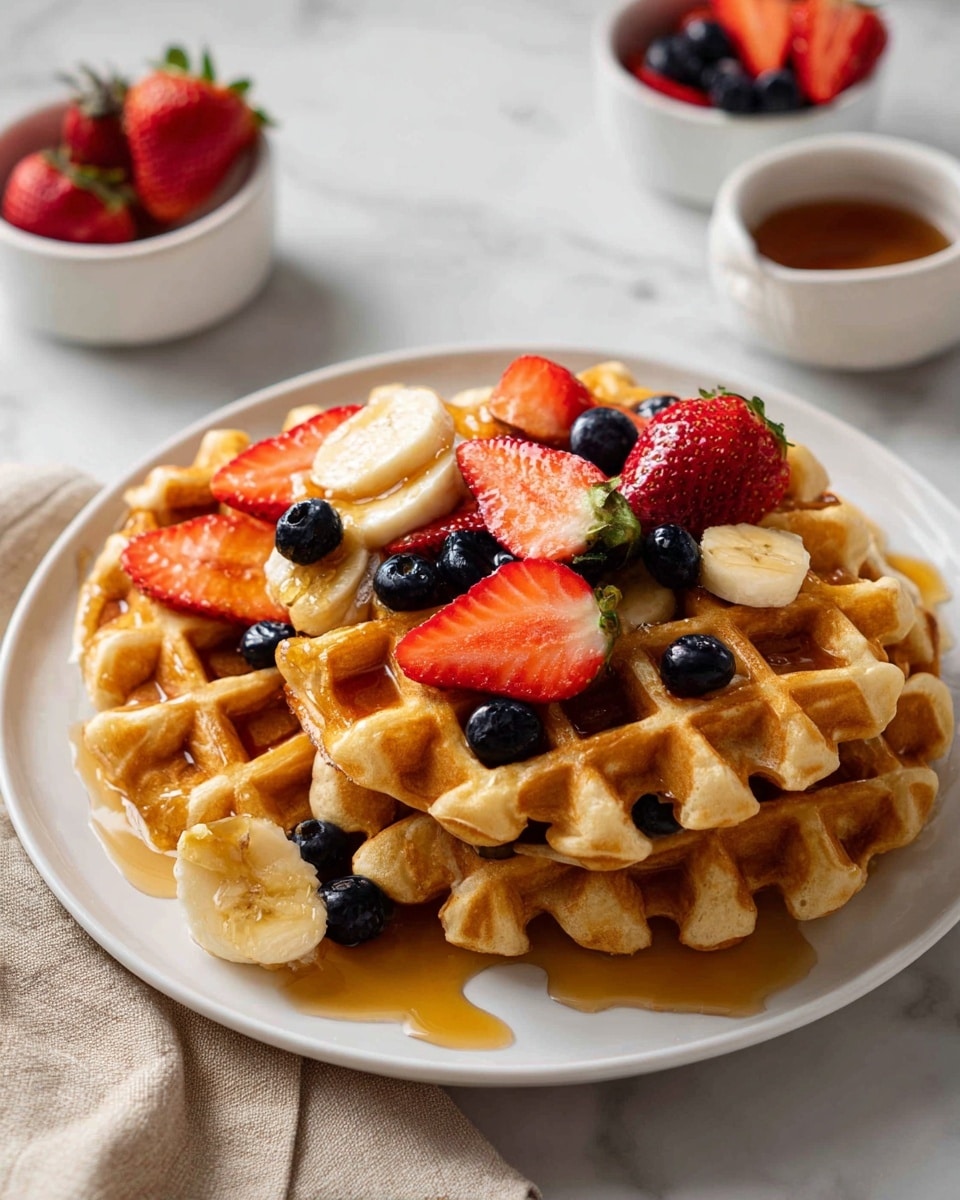
These Crispy Mini Waffles are perfectly bite-sized, golden on the outside, and fluffy on the inside. Made with simple pantry ingredients, they’re quick to prepare and ideal for breakfast, brunch, or snacks. Whether topped with syrup, fruit, or nut butter, they’re always a crowd-pleaser.
Ingredients
- 2 cups all-purpose flour
- 2 tbsp granulated sugar
- 2 tsp baking powder
- ½ tsp baking soda
- ½ tsp salt
- 2 large eggs
- 1¾ cups buttermilk
- ⅓ cup unsalted butter, melted and cooled
- 1 tsp vanilla extract
Instructions
- Step 1: Preheat and lightly grease a mini waffle maker according to the manufacturer’s instructions.
- Step 2: In a large bowl, whisk together the flour, sugar, baking powder, baking soda, and salt.
- Step 3: In a separate bowl, whisk the eggs, buttermilk, melted butter, and vanilla extract until smooth.
- Step 4: Pour the wet ingredients into the dry ingredients and stir just until combined. A few small lumps are fine; do not overmix.
- Step 5: Spoon about 2–3 tablespoons of batter into each section of the mini waffle maker, depending on its size.
- Step 6: Close the lid and cook for 3–5 minutes, or until waffles are golden brown and crispy.
- Step 7: Carefully remove the waffles and repeat with the remaining batter.
- Step 8: Serve warm with your favorite toppings like maple syrup, fresh berries, or whipped cream.
Tips & Variations
- Try adding chocolate chips, blueberries, cinnamon, or lemon zest to the batter for extra flavor.
- Use buttermilk for fluffy waffles; if unavailable, substitute with milk and 1 tbsp lemon juice or vinegar.
- Avoid overmixing the batter to keep the waffles light and tender.
- For crispier waffles, leave the waffle maker closed a little longer until golden brown.
- Serve savory by topping with eggs and bacon instead of sweet toppings.
Storage
Store leftover mini waffles in an airtight container in the refrigerator for up to 4 days. For longer storage, freeze them in a single layer on a baking sheet, then transfer to a freezer bag for up to 3 months. Reheat frozen waffles in a toaster or oven to restore crispiness. Avoid microwaving to keep them crunchy. Let waffles cool completely before storing.
How to Serve
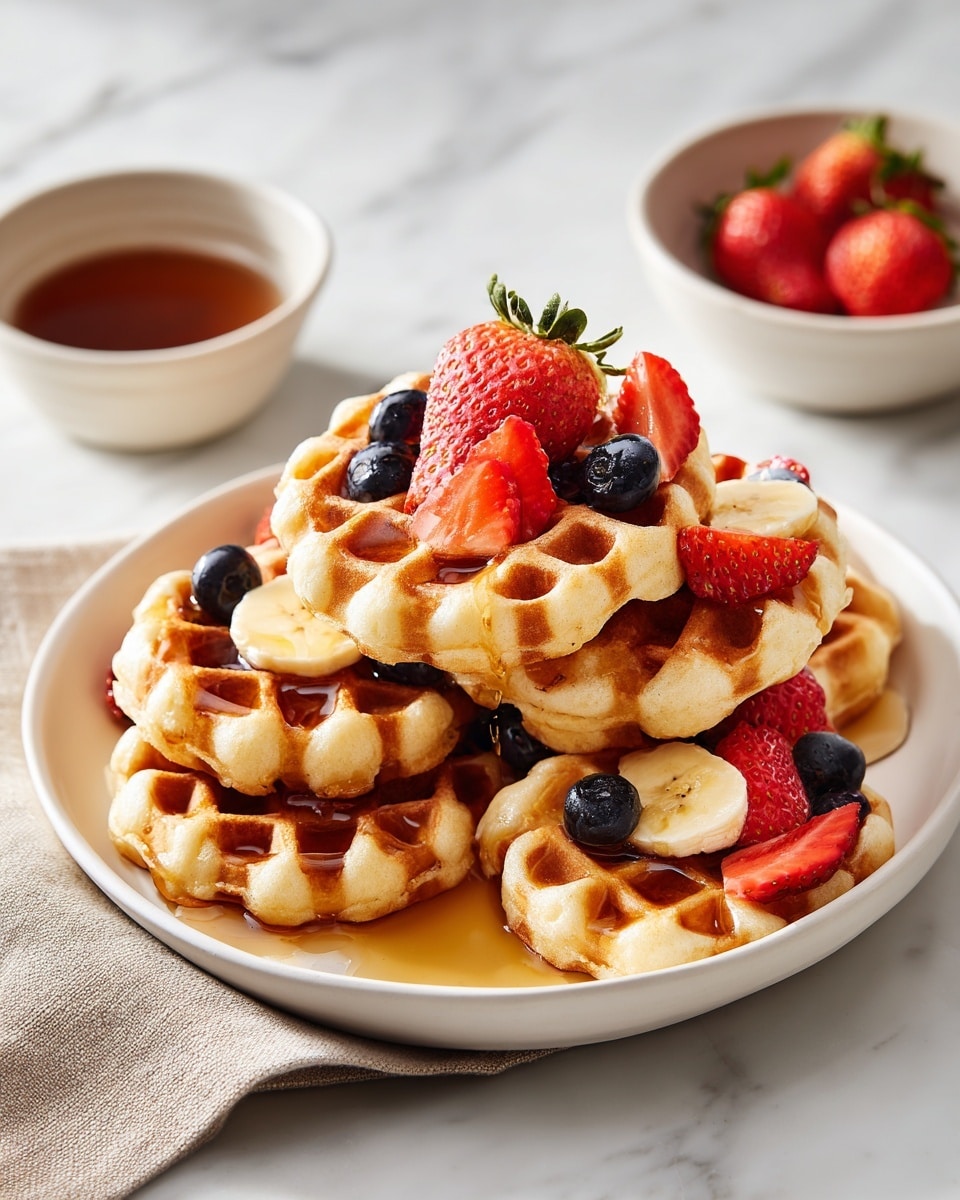
Serve this delicious recipe with your favorite sides.
FAQs
Can I use regular milk instead of buttermilk?
Yes, you can substitute regular milk by adding 1 tablespoon of lemon juice or vinegar to each cup of milk and letting it sit for 5 minutes before using. This mimics buttermilk’s acidity for tender waffles.
How do I keep my mini waffles crispy after cooking?
To keep waffles crispy, place them on a wire rack instead of stacking them right away. If storing, reheat in a toaster or oven rather than the microwave to restore their crisp texture.
PrintCrispy Mini Waffles – Fluffy and Delicious Recipe

These Crispy Mini Waffles are golden on the outside and fluffy on the inside, made with simple pantry ingredients for a quick and delicious breakfast or snack. Perfectly bite-sized, they’re ideal for family meals, brunch, or meal prep, and can be customized with a variety of toppings or mix-ins.
- Prep Time: 10 minutes
- Cook Time: 15 minutes
- Total Time: 25 minutes
- Yield: About 24 mini waffles 1x
- Category: Breakfast
- Method: Air Frying
- Cuisine: American
Ingredients
Waffle Batter
- 2 cups all-purpose flour
- 2 tbsp granulated sugar
- 2 tsp baking powder
- ½ tsp baking soda
- ½ tsp salt
- 2 large eggs
- 1¾ cups buttermilk
- ⅓ cup unsalted butter, melted and cooled
- 1 tsp vanilla extract
Optional Toppings
- Maple syrup
- Fresh berries
- Sliced bananas
- Whipped cream
- Chocolate chips
- Powdered sugar
- Peanut butter or Nutella
Instructions
- Preheat and grease: Preheat your mini waffle maker according to the manufacturer’s instructions and lightly grease it if needed to prevent sticking.
- Mix dry ingredients: In a large bowl, whisk together the all-purpose flour, granulated sugar, baking powder, baking soda, and salt until well combined.
- Mix wet ingredients: In a separate bowl, whisk the eggs, buttermilk, melted butter, and vanilla extract until the mixture is smooth.
- Combine batter: Pour the wet ingredients into the dry ingredients and stir gently just until combined. A few small lumps in the batter are fine; avoid overmixing to keep the waffles light and fluffy.
- Cook waffles: Spoon about 2–3 tablespoons of batter into each section of the mini waffle maker, depending on the size. Close the lid and cook for 3–5 minutes until the waffles are golden brown and crispy on the edges.
- Remove and repeat: Carefully remove the cooked mini waffles and continue with the remaining batter, greasing the waffle maker if necessary.
- Serve warm: Serve the mini waffles warm with your favorite toppings such as maple syrup, fresh berries, whipped cream, or chocolate chips for an enjoyable meal.
Notes
- Do not overmix the batter; a few lumps are okay to ensure fluffy waffles.
- Preheating and lightly greasing the waffle maker helps prevent sticking and ensures crisp waffles.
- Mini waffles freeze well; cool completely before freezing in a single layer, then store in freezer bags for up to 3 months.
- Reheat waffles in a toaster or oven instead of the microwave to keep them crisp.
- Customizable with add-ins like chocolate chips, blueberries, cinnamon, lemon zest, or shredded coconut mixed into the batter.
- Store leftovers in an airtight container in the refrigerator for up to 4 days.
Keywords: Mini waffles, bite-sized waffles, crispy waffles, fluffy waffles, breakfast recipe, brunch, easy waffles, homemade waffles, waffle maker