Chocolate Coffee Whoopie Pies Recipe
Introduction
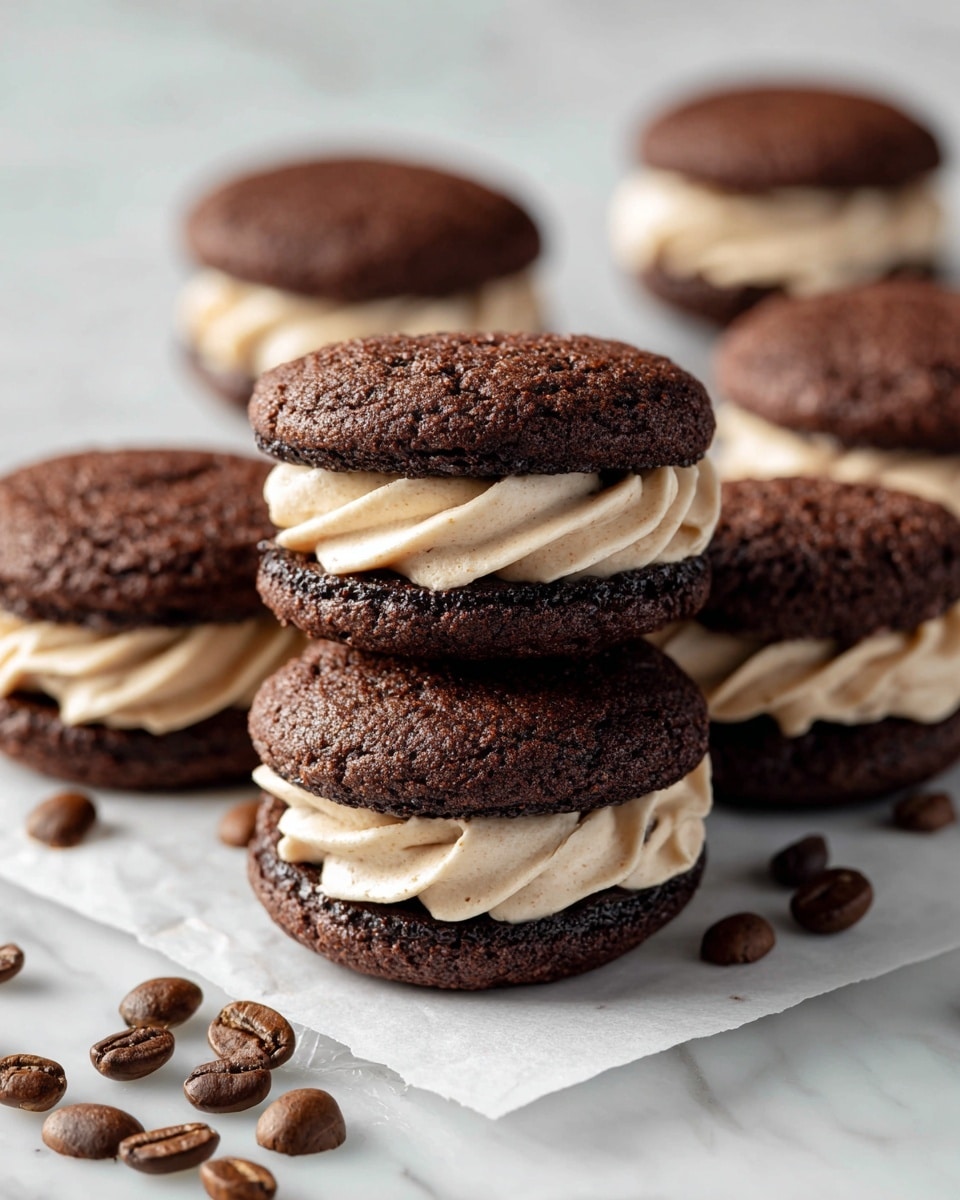
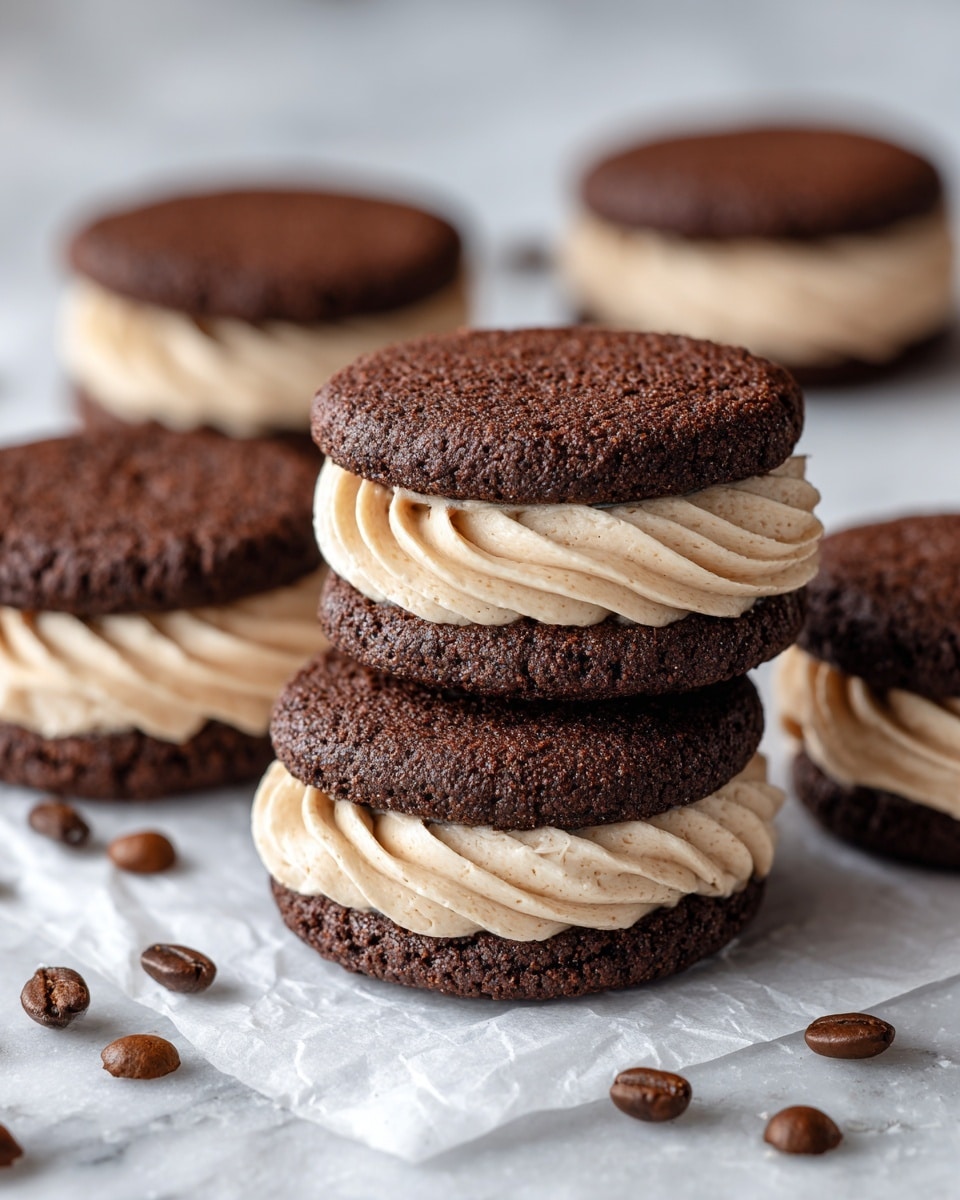
Chocolate Coffee Whoopie Pies combine the rich flavors of cocoa and espresso in a soft, cake-like cookie sandwich filled with a creamy coffee-flavored frosting. These treats are perfect for coffee lovers looking for a delightful homemade dessert that’s quick to prepare and sure to impress.
Ingredients
- 2 cups all-purpose flour
- ½ cup unsweetened cocoa powder
- 1 teaspoon baking soda
- ½ teaspoon salt
- 1 tablespoon instant espresso powder
- ½ cup unsalted butter (softened)
- 1 cup granulated sugar
- 1 large egg (room temperature)
- 1 teaspoon vanilla extract
- 1 cup milk
- ½ cup strongly brewed coffee (cooled)
- ¾ cup unsalted butter (softened, for filling)
- 3 cups powdered sugar
- 1 tablespoon instant espresso powder (for filling)
- 1 tablespoon hot milk or water
- 1 teaspoon vanilla extract (for filling)
- 1-2 tablespoons milk (as needed for filling consistency)
Instructions
- Step 1: Preheat the oven to 350°F (175°C) and line two baking sheets with parchment paper.
- Step 2: In a medium bowl, whisk together the flour, cocoa powder, baking soda, salt, and 1 tablespoon instant espresso powder. Set aside.
- Step 3: In a large bowl, beat ½ cup softened butter and granulated sugar until light and fluffy, about 2-3 minutes.
- Step 4: Add the egg and 1 teaspoon vanilla extract to the butter mixture and beat until fully combined.
- Step 5: In a separate measuring cup, combine the milk and cooled brewed coffee.
- Step 6: Add the dry ingredients to the wet ingredients in two additions, alternating with the milk-coffee mixture. Mix just until combined, careful not to overmix.
- Step 7: Scoop the batter onto the prepared baking sheets using about 2 tablespoons per scoop, spacing them 2 inches apart.
- Step 8: Bake for 10-12 minutes, or until the cakes are set and spring back lightly when touched.
- Step 9: Remove from the oven and let the cakes cool completely on a wire rack before filling.
- Step 10: To make the filling, dissolve 1 tablespoon instant espresso powder in the hot milk or water.
- Step 11: Beat ¾ cup softened butter until smooth and creamy, then gradually add the powdered sugar.
- Step 12: Add the dissolved espresso mixture and 1 teaspoon vanilla extract. Beat until light and fluffy. Add additional milk as needed to reach a smooth, spreadable consistency.
- Step 13: Spread or pipe the filling onto the flat side of half the cooled cakes, then sandwich with the remaining cakes.
Tips & Variations
- For a stronger coffee flavor, increase the instant espresso powder slightly or use a darker brewed coffee.
- Chill the filled whoopie pies for 30 minutes before serving to help the filling set.
- Substitute half the all-purpose flour with whole wheat pastry flour for a nuttier taste and a bit more texture.
- Add a pinch of cinnamon or a few drops of almond extract to the filling for interesting flavor twists.
Storage
Store the whoopie pies in an airtight container at room temperature for up to 3 days. For longer storage, refrigerate them for up to one week or freeze for up to 2 months. If refrigerated or frozen, bring to room temperature before serving for best texture.
How to Serve
Serve this delicious recipe with your favorite sides.
FAQs
Can I make the whoopie pies gluten-free?
Yes, you can substitute the all-purpose flour with a gluten-free baking blend, but be sure it contains xanthan gum or a similar binder for best results.
Can I prepare the batter or filling ahead of time?
The batter is best baked fresh for optimal texture, but you can prepare the filling a day in advance and refrigerate it. Bring the filling to room temperature and whip it briefly before assembling.
PrintChocolate Coffee Whoopie Pies Recipe

Indulge in these decadent Chocolate Coffee Whoopie Pies, featuring rich cocoa and espresso flavors in a soft cake sandwich filled with a creamy espresso-infused buttercream. Perfect as an elegant dessert or a coffee-time treat, these whoopie pies blend the robust taste of coffee with luscious chocolate in a delightful handheld form.
- Prep Time: 15 minutes
- Cook Time: 12 minutes
- Total Time: 27 minutes
- Yield: 12 servings (approximately 24 cakes, assembled into 12 whoopie pies) 1x
- Category: Dessert
- Method: Baking
- Cuisine: American
Ingredients
For the Cake:
- 2 cups all-purpose flour
- ½ cup unsweetened cocoa powder
- 1 teaspoon baking soda
- ½ teaspoon salt
- 1 tablespoon instant espresso powder
- ½ cup unsalted butter, softened
- 1 cup granulated sugar
- 1 large egg, room temperature
- 1 teaspoon vanilla extract
- 1 cup milk
- ½ cup strongly brewed coffee, cooled
For the Filling:
- ¾ cup unsalted butter, softened
- 3 cups powdered sugar
- 1 tablespoon instant espresso powder
- 1 tablespoon hot milk or water
- 1 teaspoon vanilla extract
- 1–2 tablespoons milk (as needed for consistency)
Instructions
- Preheat and Prepare Baking Sheets: Preheat the oven to 350°F (175°C). Line two baking sheets with parchment paper to prevent sticking and facilitate easy cleanup.
- Mix Dry Ingredients: In a medium bowl, whisk together the all-purpose flour, unsweetened cocoa powder, baking soda, salt, and instant espresso powder until well combined. Set aside.
- Cream Butter and Sugar: In a large bowl, beat the softened butter and granulated sugar using a mixer until the mixture is light and fluffy, about 2 to 3 minutes. This ensures a tender cake texture.
- Add Egg and Vanilla: Beat in the large egg and vanilla extract into the butter and sugar mixture until fully incorporated and smooth.
- Combine Milk and Coffee: In a separate measuring cup, mix the milk and cooled brewed coffee. This liquid mixture adds moisture and enhances the coffee flavor in the cakes.
- Combine Wet and Dry Ingredients: Add the dry ingredients to the wet ingredients in two additions, alternating with the milk-coffee mixture. Mix gently until just combined to avoid overmixing, which can toughen the cakes.
- Scoop Batter onto Sheets: Using about 2 tablespoons of batter per scoop, place dollops onto the prepared baking sheets, spacing them about 2 inches apart to allow room for spreading.
- Bake the Cakes: Bake in the preheated oven for 10 to 12 minutes or until the cakes are set and spring back lightly when touched. The cakes should be soft but firm enough to handle.
- Cool the Cakes: Remove the baking sheets from the oven and transfer the cakes to a wire rack to cool completely before filling, ensuring the filling does not melt.
- Prepare the Filling: Dissolve the instant espresso powder in the hot milk or water to enhance the coffee flavor in the frosting.
- Make the Buttercream: Beat the softened butter until smooth and creamy. Gradually add the powdered sugar, beating well after each addition for a light texture.
- Add Espresso Mixture and Vanilla: Pour in the dissolved espresso mixture and vanilla extract, then beat until the filling is light, fluffy, and well combined. If the filling is too thick, add 1-2 tablespoons of milk to reach a smooth, spreadable consistency.
- Assemble the Whoopie Pies: Spread or pipe the filling onto the flat side of half of the cooled cakes. Top with the remaining cakes, flat side down, gently pressing to create sandwich cookies.
Notes
- For stronger coffee flavor, increase the instant espresso powder slightly in either the batter or filling.
- Ensure cakes are completely cooled before adding the filling to prevent melting.
- Whoopie pies can be stored in an airtight container in the refrigerator for up to 3 days.
- Allow refrigerated whoopie pies to come to room temperature before serving for best texture.
- Use parchment paper for easy removal and cleanup.
Keywords: chocolate coffee whoopie pies, espresso whoopie pies, coffee desserts, chocolate sandwich cookies, buttercream filling


