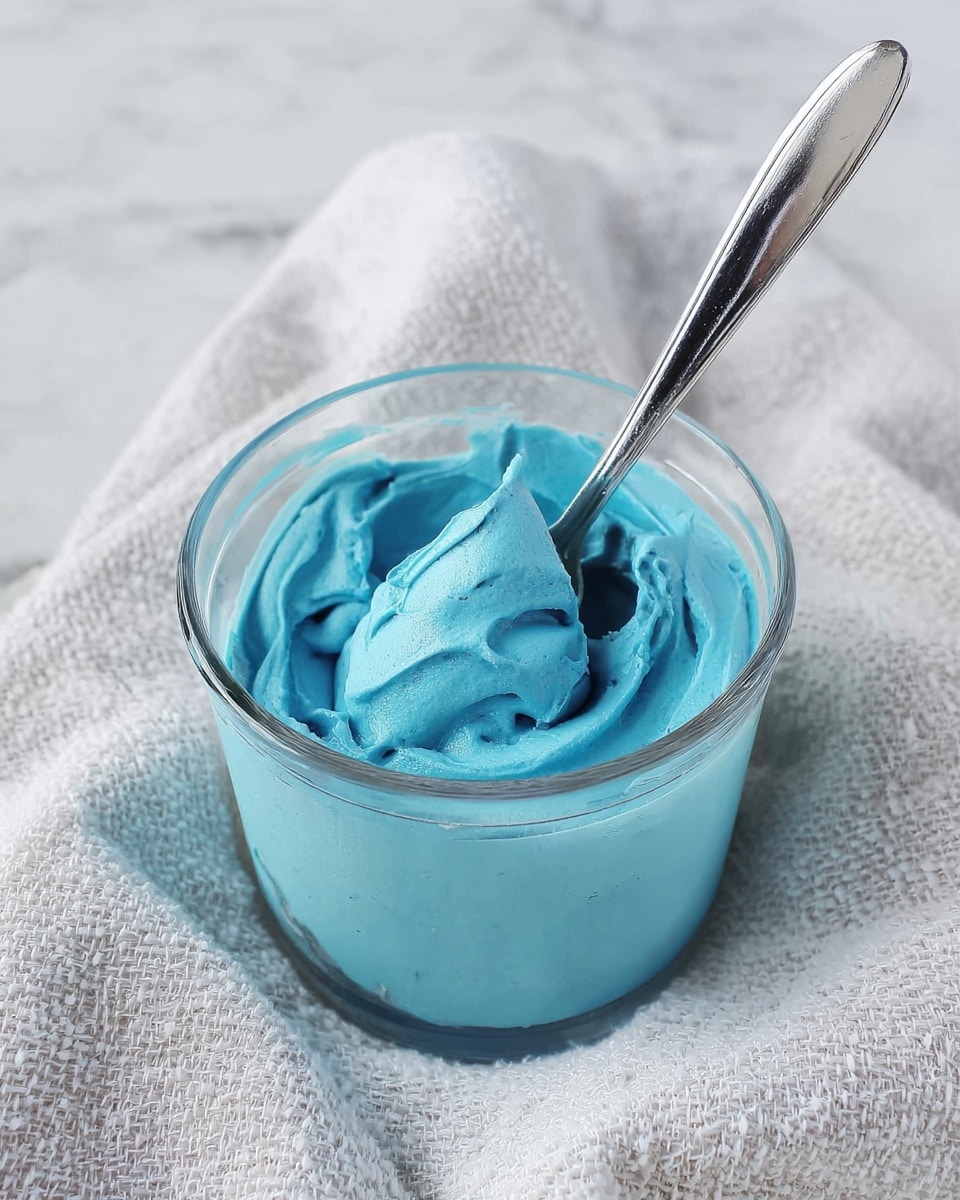
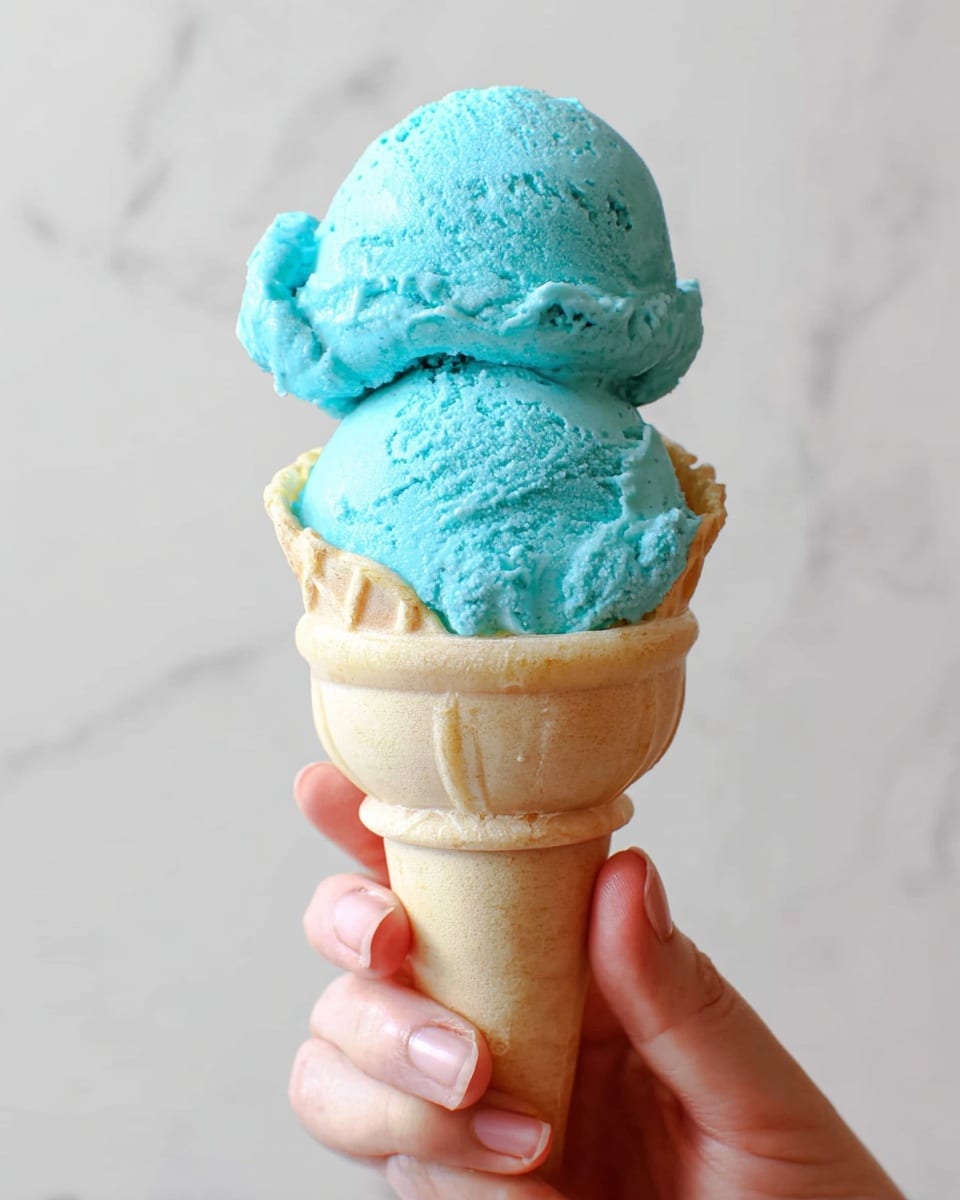
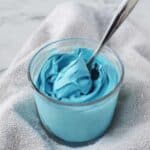
Blue Moon Ice Cream Recipe
Introduction
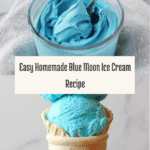
Blue Moon Ice Cream is a vibrant, fun-flavored treat known for its bright blue color and uniquely sweet taste. This homemade version is simple to prepare and perfect for those who love a fruity twist in their frozen dessert.
Ingredients
- 1½ cups milk
- ⅓ cup heavy cream
- 2 tablespoons instant vanilla pudding mix
- 1 teaspoon raspberry extract
- ½ teaspoon lemon extract
- 15 drops blue food coloring
Instructions
- Step 1: In your pint container, combine the milk, vanilla pudding mix, heavy cream, raspberry extract, lemon extract, and blue food coloring. Whisk thoroughly until all ingredients are well mixed.
- Step 2: Cover the pint container and freeze for 24 hours to allow the mixture to set properly.
- Step 3: Use your Ninja Creami machine on the “Ice Cream” setting to process the frozen mixture.
- Step 4: Check the texture of your ice cream. If it feels chalky or less creamy than desired, create a small hole in the center of the ice cream and add a tablespoon of water or milk. Then, use the “re-spin” function on your machine.
- Step 5: Repeat the re-spin process until the ice cream achieves a smooth, creamy texture.
Tips & Variations
- For a stronger fruity flavor, adjust the amount of raspberry and lemon extracts to your taste.
- If you don’t have blue food coloring, you can experiment with natural alternatives like butterfly pea powder, but expect slight color changes.
- Use full-fat milk and cream for a richer, creamier texture.
Storage
Store any leftover Blue Moon Ice Cream in an airtight container in the freezer for up to one week. When ready to serve, let it sit at room temperature for a few minutes to soften slightly before scooping.
How to Serve
Serve this delicious recipe with your favorite sides.
FAQs
Can I make Blue Moon Ice Cream without a Ninja Creami machine?
You can try freezing the mixture in a regular freezer container and stirring every 30 minutes to break up ice crystals, but the texture might not be as smooth as with a Ninja Creami.
What if I don’t have raspberry or lemon extract?
You can substitute with other fruit extracts like cherry or orange, but the flavor will be different. Alternatively, a small amount of fresh fruit juice can be used, keeping in mind it may affect the texture.
PrintBlue Moon Ice Cream Recipe
Blue Moon Ice Cream is a whimsical, brightly colored treat with a smooth texture and delightful fruity notes from raspberry and lemon extracts. Easy to make using a Ninja Creami ice cream maker, this homemade ice cream offers a unique blue hue and a creamy, refreshing flavor perfect for summer enjoyment.
- Prep Time: 10 minutes
- Cook Time: 24 hours freezing + 5 minutes processing
- Total Time: 24 hours 15 minutes
- Yield: Approximately 1 pint (4 servings) 1x
- Category: Dessert
- Method: Blending
- Cuisine: American
Ingredients
Ice Cream Base
- 1½ cups milk
- ⅓ cup heavy cream
- 2 tablespoons instant vanilla pudding mix
- 1 teaspoon raspberry extract
- ½ teaspoon lemon extract
- 15 drops blue food coloring
Instructions
- Combine Ingredients: In your pint container, whisk together the milk, vanilla pudding mix, heavy cream, raspberry extract, lemon extract, and blue food coloring until fully combined and smooth.
- Freeze Mixture: Cover the pint container and freeze the mixture for 24 hours to allow it to solidify properly.
- Cream the Ice Cream: After freezing, place the pint in your Ninja Creami machine and select the “Ice Cream” setting to churn and create a creamy texture.
- Check Texture: Remove the pint and assess the texture of the ice cream. If it appears chalky or less creamy than desired, make a small hole in the center of the ice cream.
- Adjust Texture: Add one tablespoon of water or milk into the hole. Then, place the pint back in the Ninja Creami and use the “re-spin” function to improve the creaminess.
- Repeat if Needed: Repeat the re-spin step as necessary until achieving the perfect smooth and creamy texture.
Notes
- Use a pint-sized container compatible with the Ninja Creami machine.
- Adjust the blue food coloring drops to achieve your preferred shade of blue.
- If you do not have raspberry or lemon extract, you can substitute with similar citrus or berry extracts for a different flavor profile.
- Ensure the mixture is well whisked before freezing to avoid lumps.
- The re-spin function helps refine texture but don’t overdo it to avoid melting the ice cream.
Keywords: Blue Moon Ice Cream, homemade ice cream, Ninja Creami ice cream, blue ice cream, fruity ice cream recipe, easy ice cream recipe
