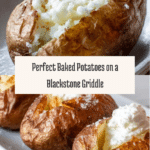
Baked Potato on a Blackstone Griddle Recipe
Introduction
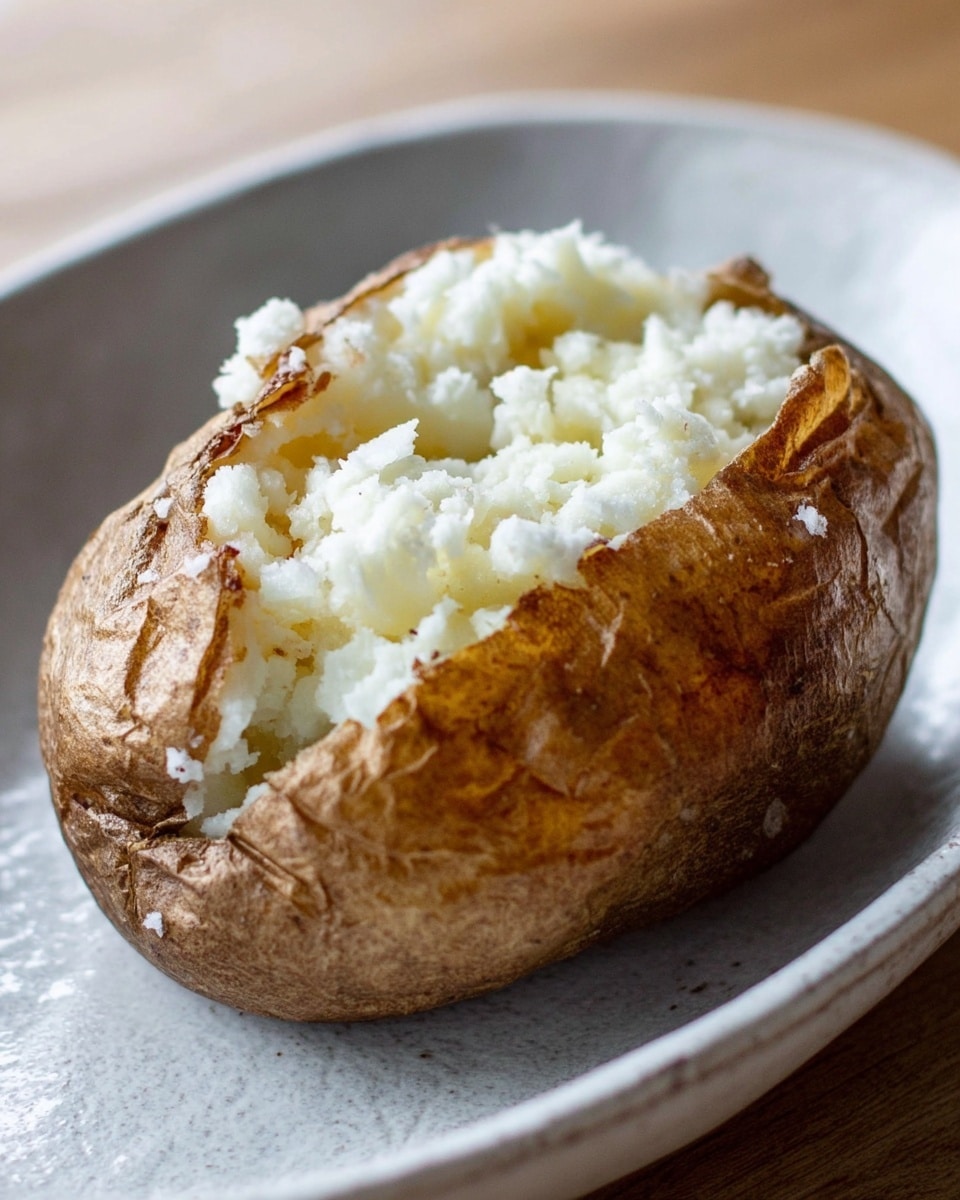
Baked potatoes are a classic comfort food, and cooking them on a Blackstone griddle adds a unique smoky flavor with perfectly crispy skin. This simple method delivers fluffy insides and is perfect for customizing with your favorite toppings.
Ingredients
- 4 russet potatoes
- 2 tablespoons olive oil
- 1 teaspoon salt
- Aluminum foil (optional)
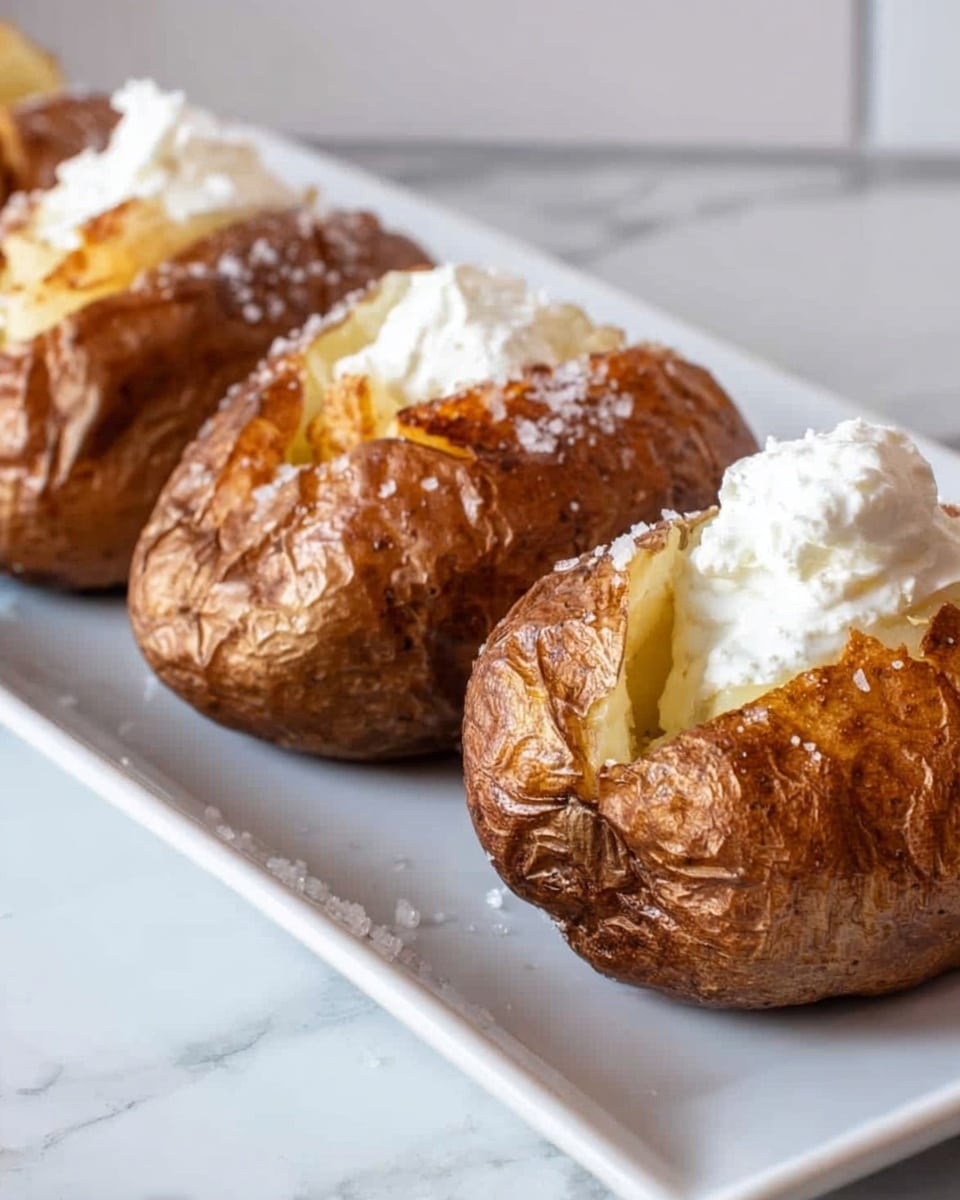
- Toppings of your choice (e.g., butter, sour cream, chives, bacon bits)
Instructions
- Step 1: Preheat your Blackstone griddle to medium heat and let it warm up for a few minutes.
- Step 2: Wash the potatoes thoroughly and pat them dry.
- Step 3: Pierce each potato several times with a fork to allow steam to escape during cooking.
- Step 4: Rub each potato with olive oil and sprinkle generously with salt to enhance flavor and crispness.
- Step 5: Place the potatoes directly on the griddle surface and cook for about 30 minutes, turning occasionally for even cooking.
- Step 6: Check for doneness by inserting a fork into the thickest part; it should slide in easily if cooked through.
- Step 7: Remove the potatoes with tongs and let them cool slightly.
- Step 8: Cut open the potatoes, fluff the insides with a fork, and add your favorite toppings.
- Step 9: Serve hot and enjoy your perfectly baked griddle potatoes!
Tips & Variations
- Wrap potatoes in aluminum foil before cooking for a softer skin.
- Try seasoning the skins with garlic powder or smoked paprika for extra flavor.
- Use a meat thermometer to check for an internal temperature of around 210°F for perfectly cooked potatoes.
- For faster cooking, slice potatoes in half and cook cut-side down, adjusting time accordingly.
Storage
Store leftover baked potatoes in an airtight container in the refrigerator for up to 3 days. To reheat, wrap in foil and warm on the griddle or in an oven until heated through. Avoid microwaving to preserve the crispy skin.
How to Serve
Serve this delicious recipe with your favorite sides.
FAQs
Can I use sweet potatoes instead of russet potatoes?
Yes, sweet potatoes can be cooked on the Blackstone griddle using the same method, though the cooking time may vary slightly. They will develop a different, naturally sweeter flavor.
What if my potatoes take longer to cook?
Cooking times may vary depending on potato size and griddle heat. If they need more time, continue cooking until tender, flipping occasionally to avoid burning. Covering with foil can help soften the skin faster.
PrintBaked Potato on a Blackstone Griddle Recipe

This recipe guides you to make perfectly baked potatoes using a Blackstone griddle, resulting in crispy skin and tender, fluffy insides. Enhanced with olive oil and salt, these baked potatoes can be customized with your favorite toppings like butter, sour cream, chives, or bacon bits for a delicious and satisfying meal.
- Prep Time: 10 minutes
- Cook Time: 30 minutes
- Total Time: 40 minutes
- Yield: 4 servings 1x
- Category: Side Dish
- Method: Grilling
- Cuisine: American
Ingredients
Potatoes
- 4 Russet potatoes
Seasoning and Oil
- 2 tablespoons olive oil
- 1 teaspoon salt, or to taste
Toppings (optional)
- Butter
- Sour cream
- Chives
- Bacon bits
Instructions
- Preheat the Griddle: Set your Blackstone griddle to medium heat and allow it to preheat for several minutes until hot.
- Prepare the Potatoes: Wash the Russet potatoes thoroughly under running water to remove dirt. Pat them dry completely with a paper towel.
- Pierce the Potatoes: Use a fork to pierce each potato several times. This allows steam to escape during cooking and prevents bursting.
- Oil and Season the Potatoes: Rub olive oil all over each potato’s skin evenly, then sprinkle salt generously over them to enhance flavor and help crisp the skin.
- Cook on the Griddle: Place the potatoes directly onto the hot griddle surface. Cook for approximately 30 minutes, turning occasionally to ensure each side is evenly cooked and the skin crisps up.
- Check for Doneness: After 30 minutes, use a fork to pierce the thickest part of a potato. If the fork slides in easily and the flesh is tender, the potatoes are done.
- Remove and Cool: Carefully take the potatoes off the griddle using tongs and set them aside to cool slightly for a few minutes before handling.
- Serve with Toppings: Slice open each potato and fluff the inside with a fork. Add your favorite toppings like butter, sour cream, chives, or bacon bits. Serve immediately while hot.
Notes
- Piercing the potatoes helps prevent explosions by allowing steam to escape during cooking.
- Rubbing olive oil and salt ensures a crispy, flavorful skin.
- Flipping the potatoes occasionally promotes even cooking on all sides.
- Use tongs to safely handle hot potatoes from the griddle.
- Customize toppings to suit your taste preferences.
- Russet potatoes are ideal for baking because of their starchy texture and large size.
Keywords: Baked Potato, Blackstone Griddle, Grilled Potato, Crispy Potato Skin, Easy Potato Recipe, Outdoor Cooking
