Garlic Parmesan Cheeseburger Bombs Recipe
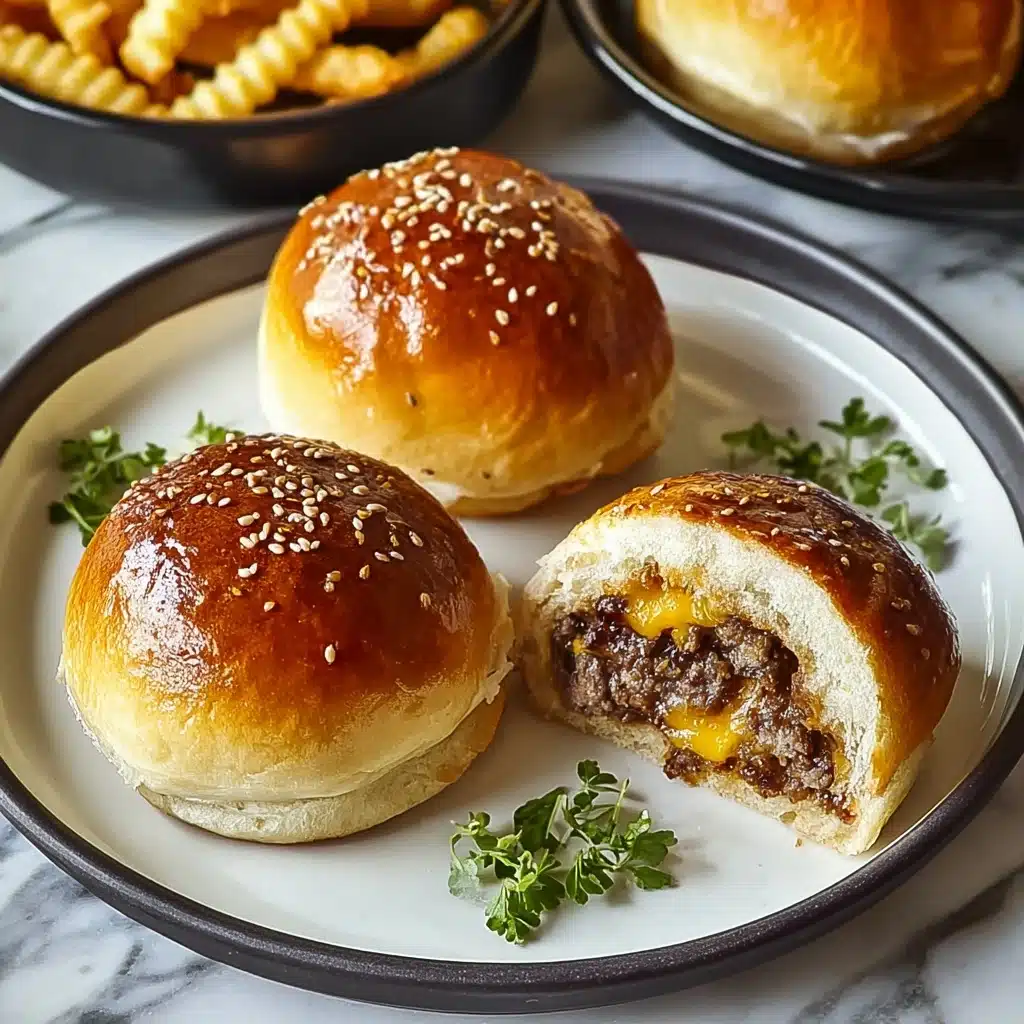
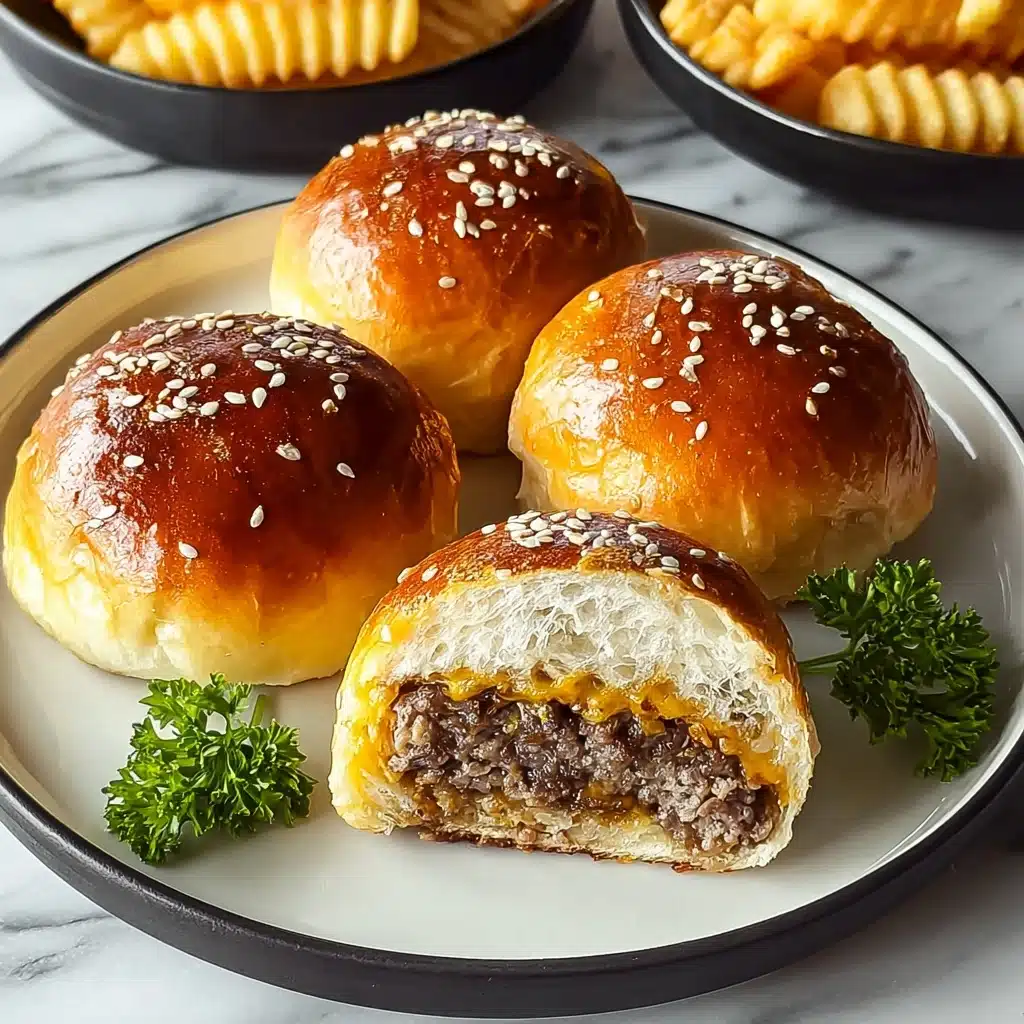
Get ready to wow your taste buds and everyone at the table with these Garlic Parmesan Cheeseburger Bombs! Imagine everything you love about a juicy cheeseburger—savory beef, sharp cheddar, and a pop of Parmesan—tucked inside a warm, fluffy biscuit, then brushed with garlicky butter and crowned with more parmesan for that irresistible finish. These flavor-packed bites are perfect for parties, game days, or any time you crave a fun, comforting snack. With their golden crust and gooey cheese filling, Garlic Parmesan Cheeseburger Bombs are the ultimate comfort food mashup that’ll have everyone reaching for seconds.
Ingredients You’ll Need
Ingredients You’ll Need
The beauty of Garlic Parmesan Cheeseburger Bombs is in their simplicity—each ingredient is a building block for bold, craveable flavor and that perfect cheeseburger-meets-garlic-knots texture. Here’s what you need and why each part matters:
- Ground Beef: The heart of every cheeseburger bite! Go for 80/20 for juicy, flavorful results.
- Shredded Cheddar Cheese: Melts gorgeously into the beef for a classic cheeseburger taste.
- Grated Parmesan Cheese: Adds a salty, nutty kick for ultimate umami depth.
- Garlic Powder: Elevates the bombs with savory, aromatic warmth.
- Onion Powder: Brings subtle sweetness and enhances the beefy flavors.
- Salt: Essential for brightening all the other ingredients; don’t skimp!
- Black Pepper: Adds just the right amount of heat and contrast.
- Worcestershire Sauce: Boosts the meaty flavor with a hit of tangy richness.
- Refrigerated Biscuit Dough: Quick, effortless, and perfectly fluffy—each biscuit wraps up that cheeseburger magic.
- Butter, Melted: Brushed over the tops for a golden sheen and extra buttery flavor.
- Fresh Parsley, Chopped: Sprinkled on top for a burst of color and freshness.
- Grated Parmesan Cheese (for topping): Gives a cheesy, picture-perfect finish to each bomb.
How to Make Garlic Parmesan Cheeseburger Bombs
Step 1: Prep Work and Preheating
First thing’s first: fire up your oven to 375°F (190°C). Give your baking sheet some love by lining it with parchment paper or hitting it lightly with cooking spray—this ensures each Garlic Parmesan Cheeseburger Bomb lifts off without a hitch, keeping them perfectly golden and intact.
Step 2: Mix That Filling
In a big mixing bowl, toss in your ground beef, cheddar, Parmesan, garlic powder, onion powder, salt, pepper, and Worcestershire sauce. Get in there with clean hands or a sturdy spoon and blend everything until the cheese is evenly distributed and the spices are mingling throughout. This mixture is the heart and soul of Garlic Parmesan Cheeseburger Bombs, so take time to make sure it’s well combined.
Step 3: Shape the Dough
On a lightly floured counter, roll out each biscuit dough piece into a flat, even circle. You want the dough just big enough to snuggle around your beefy filling—too thin and it might tear, too thick and you’ll lose that perfect meat-to-bread ratio.
Step 4: Fill and Seal Your Bombs
Spoon a generous heap of your cheeseburger filling into the center of each dough circle. Fold up the sides, gathering and pinching the edges to completely close each bomb. Make sure the seal is tight—this keeps the gooey cheese trapped inside for that glorious melty bite.
Step 5: Arrange and Top
Place each sealed bomb seam-side-down on your prepared baking sheet. Brush the tops with your melted butter (this step makes everything better), then shower them with a dusting of fresh parsley and a sprinkle of more grated Parmesan for that signature Garlic Parmesan Cheeseburger Bombs finish.
Step 6: Bake Until Golden
Slide your tray into the oven and bake for 15 to 18 minutes. You’re looking for a glorious golden brown crust—the biscuit should puff up and develop irresistible color. Let the bombs cool for a few minutes right on the pan; the filling will be piping hot and super gooey!
How to Serve Garlic Parmesan Cheeseburger Bombs
Garnishes
A simple sprinkle of extra Parmesan and a scatter of fresh parsley provide a bright pop of color and a fresh, herby finish to each Garlic Parmesan Cheeseburger Bomb. For a little zing, offer small bowls of ketchup, creamy ranch, or even spicy sriracha mayo for dipping—everyone loves options!
Side Dishes
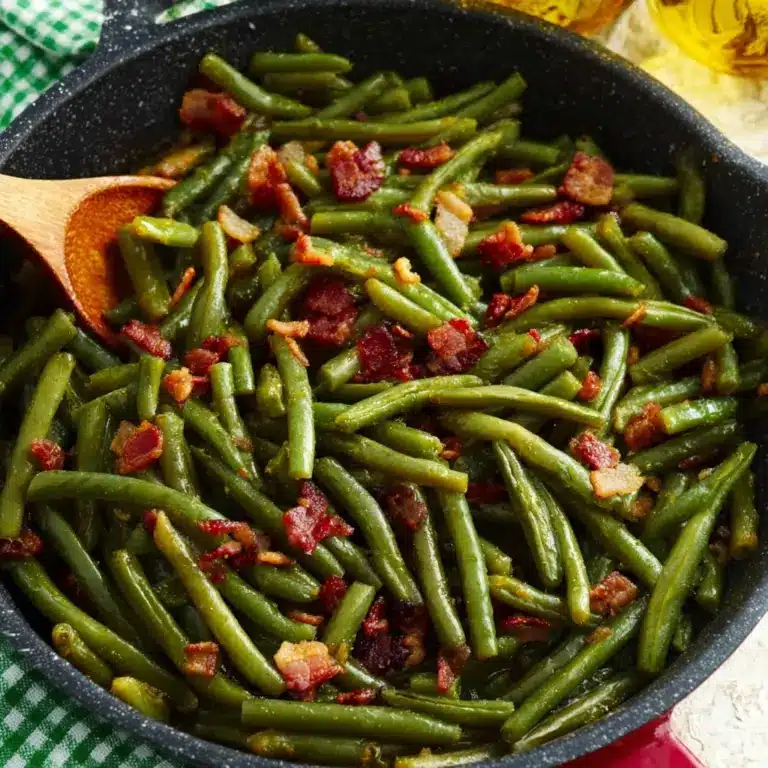
These bombs are rich and cheesy on their own, so they pair well with something crisp and refreshing. Try a tangy coleslaw, a zippy mixed greens salad, or crunchy dill pickles. If you want a more classic vibe, serve your Garlic Parmesan Cheeseburger Bombs alongside golden french fries or crispy sweet potato wedges.
Creative Ways to Present
Make these bombs the star at your next party by piling them high on a rustic platter surrounded by dipping sauces. For a fun twist, skewer them with toothpicks and serve as hearty appetizers at game day gatherings. Or, nestle them in individual baskets lined with checkered paper for that classic diner feel—easy, fun, and totally irresistible.
Make Ahead and Storage
Storing Leftovers
Leftover Garlic Parmesan Cheeseburger Bombs store beautifully! Once cooled, transfer them to an airtight container and pop them in the fridge—they’ll stay tasty and soft for up to 3 days. For best results, let them cool fully before sealing, so the biscuit stays fluffy and doesn’t get soggy.
Freezing
You can absolutely freeze these for future snacking. Once baked and fully cooled, place the bombs in a single layer on a baking sheet and freeze until solid. Then transfer them to a freezer bag or container—just grab what you need and reheat whenever a craving calls. They’ll keep up to 2 months and taste just as dreamy.
Reheating
When you’re ready to enjoy your Garlic Parmesan Cheeseburger Bombs again, pop them in a 350°F (175°C) oven for about 8-10 minutes. This keeps the dough fluffy and warms the filling through. If you’re in a rush, the microwave works too—just 30 to 45 seconds will do the trick, though the texture is best from the oven.
FAQs
Can I use a different type of cheese in the filling?
Absolutely! Mix and match your favorites—try pepper jack for a spicy kick, Monterey Jack for extra creaminess, or even a blend of Italian cheeses for extra depth. Just make sure to use a cheese that melts well for that signature gooey center.
What’s the best way to make these bombs ahead for a party?
You can assemble the bombs (up to the butter and cheese topping step), then cover them tightly and refrigerate for up to 12 hours before baking. When your guests arrive, just brush with butter, sprinkle with the topping, and bake as usual—fresh, hot Garlic Parmesan Cheeseburger Bombs on demand!
Can I use homemade biscuit dough instead of canned?
Definitely! If you love making your own dough, go for it. Just portion and roll it out as directed in the recipe. Homemade dough may give a slightly differently textured crust, but it’ll be deliciously fluffy and golden.
Is it possible to make a vegetarian version?
Yes! Substitute the ground beef for a meatless ground alternative or sautéed mushrooms for a savory, veggie-packed filling. Keep the cheeses and spices as is, and you’ll still get that Garlic Parmesan Cheeseburger Bombs goodness in every bite.
Can I add extra toppings or fillings inside?
Get creative! Toss in bits of cooked bacon, diced pickles, caramelized onions, or a hint of jalapeño with the beef mixture. Just be careful with extra moisture so the biscuit dough seals and bakes perfectly.
Final Thoughts
If you’re looking for a fun, crowd-pleasing twist on a classic comfort food, Garlic Parmesan Cheeseburger Bombs are sure to become your new obsession. Each bite is melty, cheesy, buttery, and packed with flavor—easy enough for weeknights, special enough for sharing. Give this recipe a try and watch them disappear; I promise, you’ll want to make a double batch!
PrintGarlic Parmesan Cheeseburger Bombs Recipe

These Garlic Parmesan Cheeseburger Bombs are a delicious twist on traditional cheeseburgers, with a flavorful beef and cheese filling encased in biscuit dough and baked to perfection. They are perfect for a fun and tasty meal that the whole family will love.
- Prep Time: 20 minutes
- Cook Time: 15-18 minutes
- Total Time: 35-38 minutes
- Yield: 8 bombs 1x
- Category: Main Course
- Method: Baking
- Cuisine: American
- Diet: Non-Vegetarian
Ingredients
For the Cheeseburger Filling:
- 1 lb ground beef
- 1⁄2 cup shredded cheddar cheese
- 1⁄4 cup grated Parmesan cheese
- 1 teaspoon garlic powder
- 1 teaspoon onion powder
- 1⁄2 teaspoon salt
- 1⁄4 teaspoon black pepper
- 1 tablespoon Worcestershire sauce
For the Bombs:
- 1 package refrigerated biscuit dough (about 8 biscuits)
- 2 tablespoons butter, melted
- 1 tablespoon fresh parsley, chopped
- 1⁄4 cup grated Parmesan cheese (for topping)
Instructions
- Preheat the Oven: Preheat your oven to 375°F (190°C) and prepare a baking sheet with parchment paper or greasing it.
- Prepare the Filling: In a large bowl, mix ground beef, cheddar cheese, Parmesan cheese, garlic powder, onion powder, salt, pepper, and Worcestershire sauce.
- Roll Out the Dough: Roll out each biscuit into a circle on a floured surface.
- Fill the Dough: Place a spoonful of the beef mixture in the center of each dough circle and fold the dough to seal the filling.
- Arrange and Top: Place the bombs on the baking sheet, brush with melted butter, and sprinkle parsley and Parmesan cheese on top.
- Bake: Bake for 15-18 minutes until golden brown and cooked through.
- Serve: Let cool briefly before serving and enjoy!
Nutrition
- Serving Size: 1 bomb
- Calories: 320
- Sugar: 1g
- Sodium: 680mg
- Fat: 20g
- Saturated Fat: 9g
- Unsaturated Fat: 8g
- Trans Fat: 0g
- Carbohydrates: 18g
- Fiber: 1g
- Protein: 17g
- Cholesterol: 60mg
Keywords: Garlic Parmesan Cheeseburger Bombs, Cheeseburger Bombs recipe, cheesy bombs


