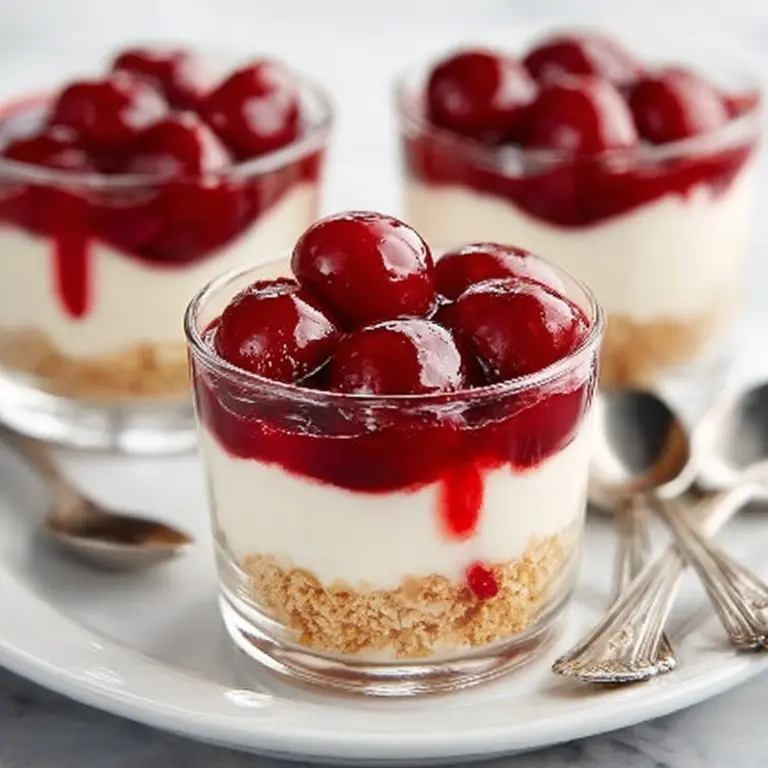
Salted Honey Pie Recipe
If you’ve never experienced the magic of Salted Honey Pie, it’s about to become your secret weapon for impressing dessert lovers everywhere. This pie is pure alchemy: buttery pastry cradles a plush, creamy custard that’s lusciously sweet from honey and brown sugar, then all at once brightened and balanced by a flourish of flaky sea salt. Every bite is smooth, softly set, and somehow both nostalgic and utterly fresh. Trust me, Salted Honey Pie has a way of turning even casual gatherings into memorable celebrations, and it’s the kind of recipe friends will beg you to share.

Ingredients You’ll Need
What I love about making Salted Honey Pie is the way each ingredient—nothing too fancy!—plays its part in building layers of flavor and texture. These basics combine to deliver a custardy, golden pie with a gentle crunch and that signature salty finish.
- Pie crust (refrigerated or homemade): The base of your Salted Honey Pie, providing structure and flaky depth; homemade is worth it, but store-bought absolutely works in a pinch.
- 4 large egg yolks, lightly beaten: They lend incredible richness and help set the custard to silky perfection.
- 2 1/2 cups (600 ml) heavy whipping cream: The heart of the creamy filling, giving it body and a melt-in-your-mouth texture.
- 2/3 cup (150 g) packed light brown sugar: Adds a subtle caramel note that enhances the honey’s natural warmth.
- 1/3 cup (45 g) cornstarch, sifted: Acts as the primary thickener, ensuring the pie sets beautifully and slices cleanly.
- 1/2 tsp salt: Essential for balancing sweetness and making all the flavors pop.
- 1/2 cup (120 ml) honey: The soul of Salted Honey Pie—go for a floral, high-quality honey for the best flavor.
- 2 tsp vanilla extract: Rounds out the custard with cozy, aromatic background notes.
- Flaky sea salt, for sprinkling: The final flourish, offering a delicate crunch and a hint of savory contrast.
How to Make Salted Honey Pie
Step 1: Prepare the Pie Crust
Begin by pressing your pie crust, whether homemade or store-bought, into a deep dish 8-inch or standard 9-inch pie pan. Give it a little time to chill in the fridge while you prepare the filling; this helps it hold its shape and ensures the bottom won’t get soggy as the custard bakes. If you’re making your own crust, make sure it’s well-chilled and, for an extra treat, sprinkle a bit of sugar over the top for a subtle crunch that pairs deliciously with the honey custard.
Step 2: Heat the Cream Mixture
In a medium saucepan, combine the heavy whipping cream, brown sugar, cornstarch, and salt. Set the pan over medium heat and begin stirring steadily. The mixture will start out cloudy but soon transform, thickening up as it heats—thanks to the cornstarch—and scenting your kitchen with that irresistible caramel aroma from the brown sugar. Keep stirring until it comes to a gentle rolling boil, then take it off the heat right away to preserve a smooth, lump-free texture.
Step 3: Temper the Eggs
Now comes a crucial step for that dreamy custard. In a separate bowl, have your lightly beaten egg yolks ready. Slowly ladle a bit of the steaming cream mixture into the yolks, whisking constantly so the heat is introduced gradually and the eggs don’t scramble. Continue adding more of the warm mixture until you’ve whisked in about half; this “tempering” ensures the final custard is velvety instead of curdled. Pour the egg mixture back into the saucepan and stir gently to combine.
Step 4: Combine the Mixture
Place the saucepan back on low heat. Add the honey (the shining star of Salted Honey Pie!) and vanilla extract now, stirring gently until everything is just combined and the custard is smooth. The honey transforms the filling to a pale golden hue and infuses it with a deep, complex sweetness, while vanilla gives a warm background note that makes each bite incredibly comforting.
Step 5: Fill the Pie Crust
Grab your chilled crust from the fridge, and pour the custard filling right in. It should look luxurious—thick, creamy, and golden from the honey. Spread it evenly to avoid bubbles or air pockets. A well-distributed filling is key for those picture-perfect slices of Salted Honey Pie everyone will be vying for.
Step 6: Bake the Pie
Preheat your oven to 375°F (190°C). Place the filled pie pan on the center rack and bake for 40–45 minutes. You’ll see the top gently brown while the filling puffs slightly and may still jiggle in the center when you remove it from the oven—that’s perfect! The pie will continue to firm up as it cools. Avoid overbaking; too much time in the oven can cause the custard to turn grainy rather than luscious.
Step 7: Cool and Set
Let your Salted Honey Pie cool to room temperature on a wire rack. This helps the custard finish setting and keeps the crust crisp. Once cooled, transfer it to the refrigerator to chill until firm—at least a few hours, but overnight is even better if you can wait. Chilling deepens the honey and vanilla flavors, making each forkful even more delectable.
Step 8: Finish with Sea Salt
Right before serving, sprinkle a generous pinch of flaky sea salt over the pie. The delicate salt crystals contrast beautifully with the custard’s sweetness and make every bite sing. This touch transforms Salted Honey Pie from good to unforgettable—don’t skip it!
Step 9: Serve and Enjoy
Slice up your perfectly set Salted Honey Pie and serve cold for the best texture and flavor. Each bite delivers silky honey custard, flakes of sea salt, and that dreamy, buttery crust. If you’re lucky enough to have leftovers, they’ll keep well for a few days in the fridge—though don’t bank on them lasting that long!
How to Serve Salted Honey Pie

Garnishes
The crowning glory of Salted Honey Pie is that essential pinch of flaky sea salt, but you can also add a dollop of lightly whipped cream, a scattering of toasted nuts, or a delicate drizzle of extra honey. These finishing touches add both flavor and visual appeal, ensuring your pie looks as elegant as it tastes.
Side Dishes
This pie steals the spotlight all on its own, but for a truly memorable dessert plate, serve slices alongside fresh berries or a compote of stone fruits. Their slight tartness and juiciness play off the rich custard and balance the sweetness beautifully. Even a few crisp apple slices on the side can work wonders.
Creative Ways to Present
For special occasions, try baking individual Salted Honey Pie tartlets for a playful, personal touch. Or, serve the pie sliced on a rustic wooden board with little bowls of whipped cream, extra salt, and honey so everyone can customize their piece. Even simple details—like a sprig of fresh thyme or edible flowers—can make your presentation feel festive and unique.
Make Ahead and Storage
Storing Leftovers
Salted Honey Pie holds up beautifully in the fridge. Once completely cooled, cover the pie tightly with plastic wrap or aluminum foil and refrigerate for up to 3-4 days. The flavors deepen as it sits, making leftovers (if you’re lucky enough to have any!) just as delectable the next day. Be sure to keep the pie cold to maintain its smooth, custardy texture.
Freezing
If you want to make your Salted Honey Pie ahead for a future celebration, freezing is an option. After baking and cooling completely, wrap the pie securely in plastic and then a layer of foil. Freeze for up to one month. Thaw overnight in the refrigerator before serving; you may notice a slight texture change, but the flavors are still wonderful.
Reheating
This pie is best enjoyed chilled, but if you prefer a warm slice, reheat individual servings gently in the microwave for 10-15 seconds. Avoid over-warming, as it can cause the custard to separate. If you’d like to crisp up the crust slightly, pop slices into a low oven (about 300°F/150°C) for 5-8 minutes before serving.
FAQs
Can I use a different type of honey for Salted Honey Pie?
Absolutely! Any good-quality honey will work, but keep in mind that the flavor of the honey you choose will shine front and center. Wildflower, clover, or even orange blossom honey each bring a unique nuance to the custard, so feel free to use your favorite or try something new for a twist.
Is it possible to make Salted Honey Pie gluten-free?
Yes! Simply opt for a gluten-free pie crust (homemade or store-bought). The filling itself contains no flour, so it’s already gluten-free. Just ensure that any thickening agents used are also gluten-free, and you’re set for a delicious alternative everyone can enjoy.
Can I make Salted Honey Pie ahead of time?
Salted Honey Pie is an excellent make-ahead dessert since it needs time to chill and set in the fridge. Prepare it the day before your gathering, and it will be perfectly sliceable and flavorful when you’re ready to serve. This also frees you up to focus on other meal prep!
Why do I need to chill the pie before slicing?
Chilling is essential because it allows the custard to fully set, ensuring clean, beautiful slices. Slicing too soon can result in a runny filling, so patience pays off. Plus, the flavor develops as it rests, making each bite creamier and more fragrant.
What’s the best way to get a clean slice of pie?
For picture-perfect slices, use a sharp, thin-bladed knife and wipe it clean between each cut. Chilling the pie thoroughly also helps achieve neat portions. If you’re concerned about sticking, run the knife under hot water and dry it before each slice.
Final Thoughts
If you’re searching for a dessert that’s both comforting and a little bit extraordinary, Salted Honey Pie is the recipe to try. Its combination of smooth honey custard, delicate salt, and flaky pastry is pure, simple magic. I can’t wait for you to bake it and watch it become a new favorite at your table!
PrintSalted Honey Pie Recipe
Indulge in the rich, creamy goodness of Salted Honey Pie with its luscious custard filling and flaky sea salt topping. This dessert is a perfect balance of sweetness and saltiness, making it a delightful treat for any occasion.
- Prep Time: 20 minutes
- Cook Time: 45 minutes
- Total Time: 1 hour 5 minutes
- Yield: 8–10 servings 1x
- Category: Dessert
- Method: Baking
- Cuisine: American
- Diet: Vegetarian
Ingredients
Pie Crust:
- 1 refrigerated or homemade pie crust
Custard Filling:
- 4 large egg yolks, lightly beaten
- 2 1/2 cups (600 ml) heavy whipping cream
- 2/3 cup (150 g) packed light brown sugar
- 1/3 cup (45 g) cornstarch, sifted
- 1/2 tsp salt
- 1/2 cup (120 ml) honey
- 2 tsp vanilla extract
Finishing Touch:
- Flaky sea salt, for sprinkling
Instructions
- Prepare the Pie Crust: Begin by preparing the pie crust in either a deep dish 8-inch pie pan or a 9-inch pie pan. Chill the crust in the fridge while preparing the filling.
- Heat the Cream Mixture: Combine cream, brown sugar, cornstarch, and salt in a saucepan. Heat until boiling, stirring constantly.
- Temper the Eggs: Ladle hot cream mixture into egg yolks while whisking to prevent curdling.
- Combine the Mixture: Mix tempered eggs back into the saucepan with remaining cream. Add honey and vanilla.
- Fill the Pie Crust: Pour custard mixture into chilled pie crust evenly.
- Bake the Pie: Bake at 375°F (190°C) for 40-45 minutes until set.
- Cool and Set: Cool to room temperature, then refrigerate until firm.
- Finish with Sea Salt: Sprinkle flaky sea salt over the pie before serving.
- Serve and Enjoy: Slice into portions and serve chilled.
Notes
- For best results, use high-quality honey for a rich flavor.
- Make sure to let the pie cool completely before refrigerating to set properly.
- The sea salt topping adds a gourmet touch, so don’t skip it!
Nutrition
- Serving Size: 1 slice
- Calories: 380
- Sugar: 22g
- Sodium: 210mg
- Fat: 27g
- Saturated Fat: 16g
- Unsaturated Fat: 8g
- Trans Fat: 0g
- Carbohydrates: 33g
- Fiber: 0g
- Protein: 4g
- Cholesterol: 190mg
Keywords: Salted Honey Pie, Custard Pie, Dessert Recipe


